ZuluSCSI with HP 9000 Systems
If you’re using ZuluSCSI with your HP 9000 system, here are some tips which may save you time. I am working on coverting my collection of SCSI devices over to using ZuluSCSI as the failure rate of the SCSI fixed disks in my collection has been deplorable as of late.
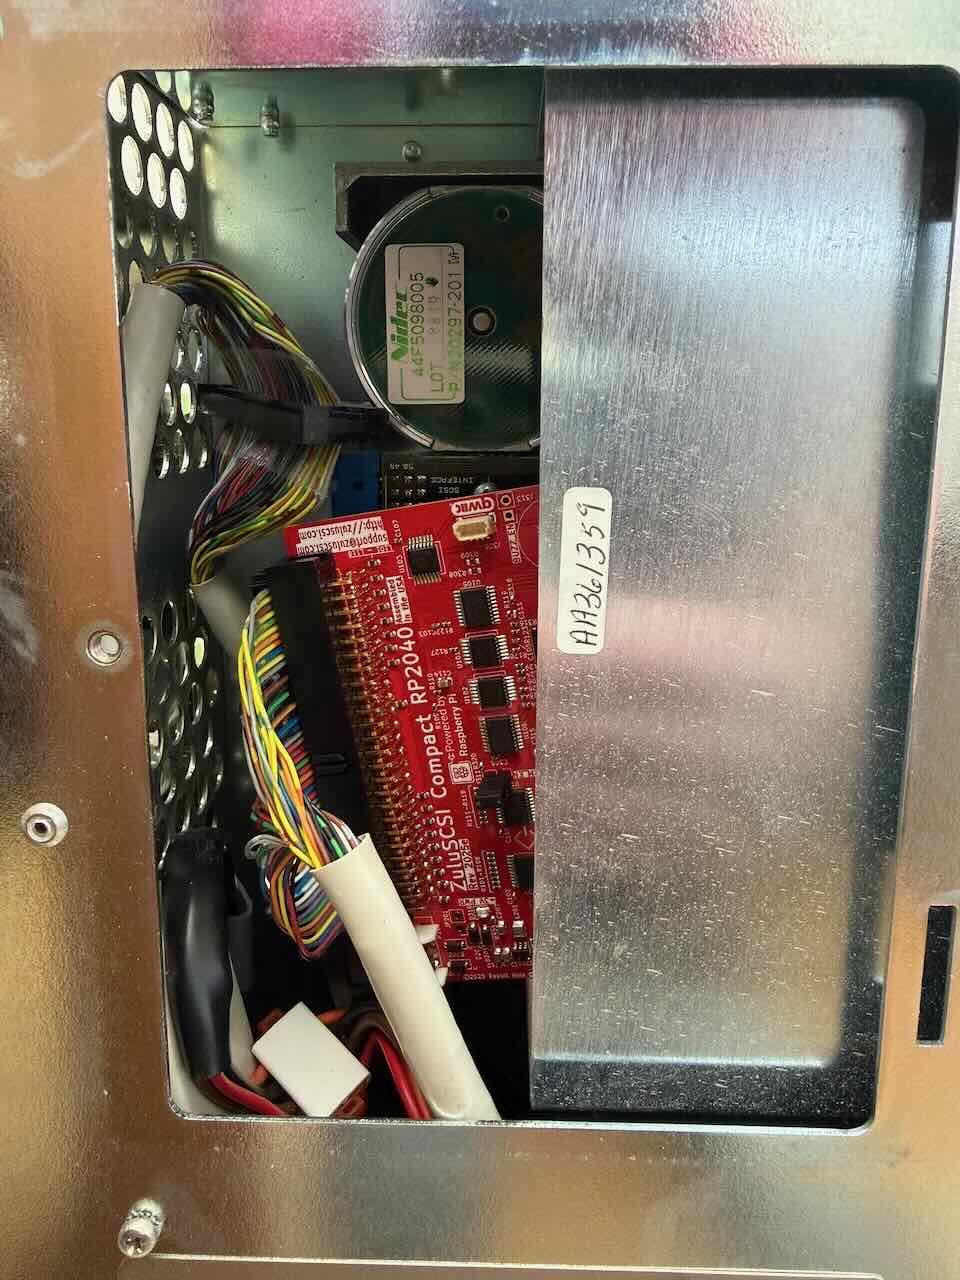
The following notes were tested against a ZuluSCSI Compact RP2040 with USB-C being installed into an HP 9000/400. I suspect much of it is true for the 700 series as well. Beyond that, I cannot say.
General Impressions
As is usually the case with ZuluSCSI, HP-UX install using both an emulated SCSI CD-ROM drive and the emulated SCSI disk was remarkably straightforward and far more pleasant than the first manual install I did with a CD-ROM drive borrowed from a Sun and Seagate Hard Disk.
The 9000/400 supports SCSI termination power, so you can run it off the SCSI bus entirely and don’t need to mess with Molex power.
SCSI Disk IDs
When setting up the install images (see the outdated? ZuluSCSI guide) on the ZuluSCSI, you will want to configure the following:
CD2.isoas the CD drive. HP 9000 systems expect the CD drive on SCSI ID 2.HD6.imgas the primary hard disk. HP 9000 systems expect the hard disk on SCSI ID 6.
(Thanks to Sophie Haskins for the guide here which jogged my memory on this.)
Disk Size
At least in my 9000/400, HP-UX install failed to recognize the disk when provided with a hard disk image (HD6.img) that was ~2GB. I used truncate -s 1G HD1.img on Fedora 43 to create a 1G image instead.
HP-UX Installation and Hot-swap Capability
Some HP-UX installers may require swapping CDs. During installation, at least in my case, you can remove the Micro SD card, put it in your modern computer and copy over the second CD to “CD2.iso”. Putting it back in your HP 9000 should cause it to pick up the new disk.